Source: PopSugar.com
If you want to add value to your home and actually make it look a lot more luxurious, without actually spending a lot of money, then applied moulding is the answer.
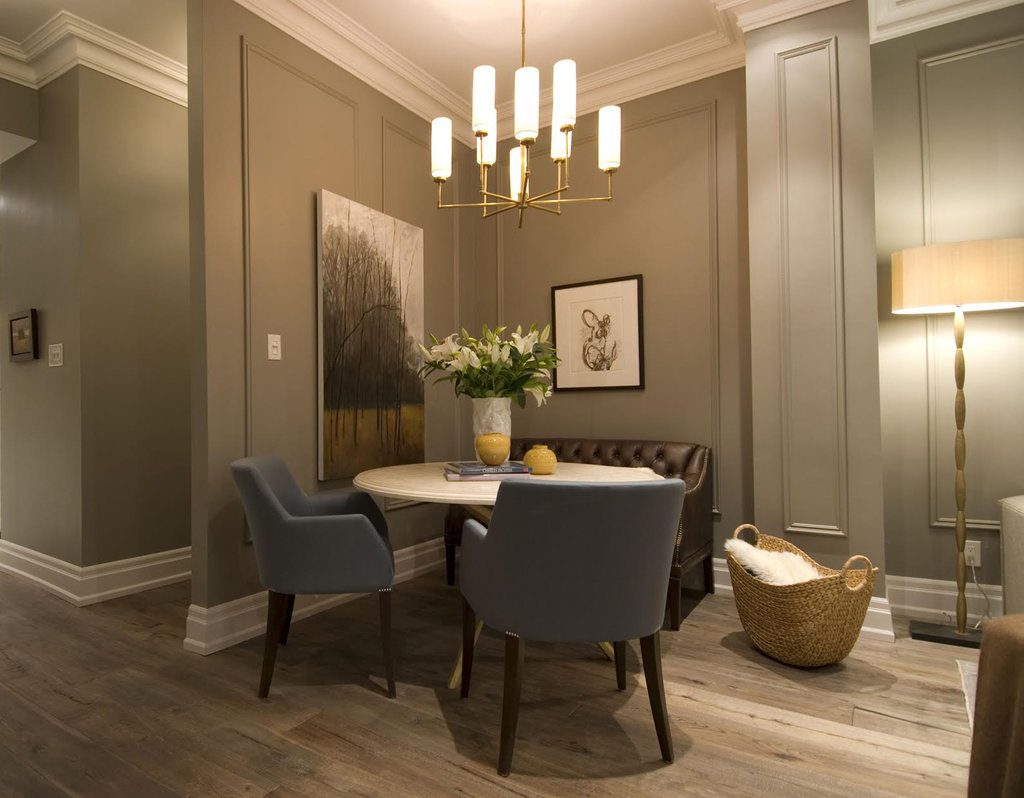
Applied moulding, like in the picture above, also known as “picture boxing” makes a room look more luxurious but can be done fairly inexpensively in just a day.
This is one of the simplest DIY projects but the impact is dramatic.
Here are some helpful tips to keep in mind:
Plan ahead: Pick strategic spots where you can install your applied moulding. Keep in mind those areas with switches and electrical outlets and make adjustments accordingly.
Determine the height: Try selecting moulding which is two-thirds the height of your room. Alternatively, you can base this on the height of a chair rail, which is 32 to 36 inches above the ground.
Maintain a consistent distance: Ensure individual mouldings are six to eight inches apart to maintain consistency. Try maintaining the same distance between mouldings and the baseboard or ceiling.
Have the right tools: A miter box and handsaw are the most useful for installing applied mouldings.
Choose the best angle: Cut each piece at a 45-degree angle after measuring the length and width of each moulding to ensure the joints fit together.
Paint: Finish things off with a fresh paint job. Try matching the mouldings’ colours with your walls or use a different colour to make your mouldings stand out.
For more tips, click here.